This subject will be our first tutorial of Duniter dealing with Community integration, using graphical client Sakia:
This tutorial will cover the following steps:
- Installing Sakia
- Creating your personal identity
- Connecting to the network
- Joining a community
And in a second time, one of the most important action in Duniter:
- Certificating other people (both members and non-members)
Feel free to leave comments if you encouter difficulties, have suggestions, or anything else.
Have fun! ![]()
Installing Sakia
Download
Download the one that fits your own environment.
Here, we will consider the case of Windows (.exe) version that does not rely on any external library. Windows version can be used “as is”.
Launch
Once download is finished, extract the resulting file. Inside the folder, you will find a sakia.exe. To launch Sakia, simply click on this file. You should land on the above screenshot of Sakia home screen.
Creation of your personal identity
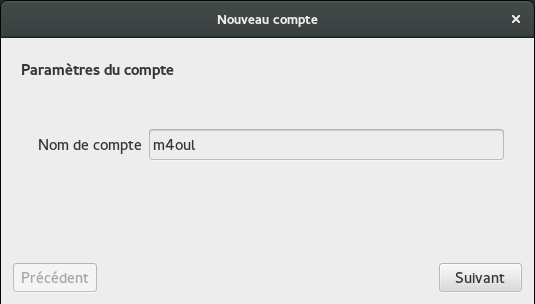
In the menu, click on New account:
In the screen that showed up, you will have to enter your personal identity name. In this example, I will put mine “m4oul”. But you have to choose your own.
If you choose an already used UID, you won’t be able to join the community. So ensure not to collide with someone else’s UID.
You should now have the following screen:
Click on “Next”. You will now be asked for data to constitute your personal keyring. You will be asked for 2 parameters:
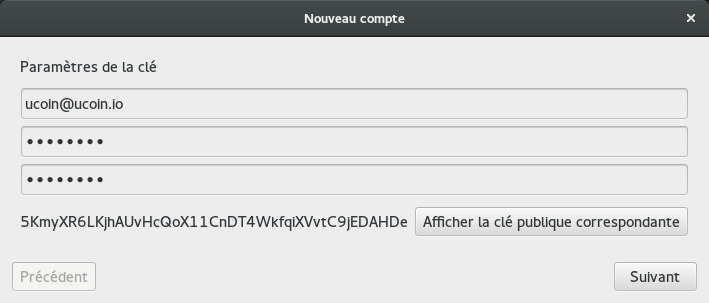
- Salt: we advice you to choose your personal e-mail as value for this field. But you can put any other value: it only has to carry enough entropy to avoid key collision. Typically, your personal e-mail is a good choice, added to the fact it is easy to remember.
- Password: here, choose a very strong password, so no one can find it. This password can’t be changed thereafter, so choose it carefully.
N.B.: you will have to remember these 2 values, salt and password. The keypair generated from these values won’t be saved anywhere. It will only e in your head!
You can click on “Show public key” to see the resulting key generated from your salt and password.
This isn’t my real public key, it is just for our example.
Click on next to generate both your key and your personal identity.
Connect to the network
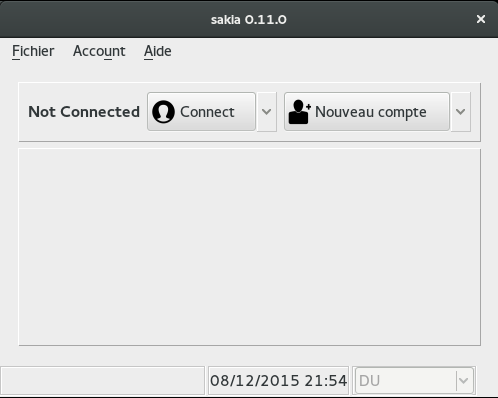
Right now, you should be on the following screen:
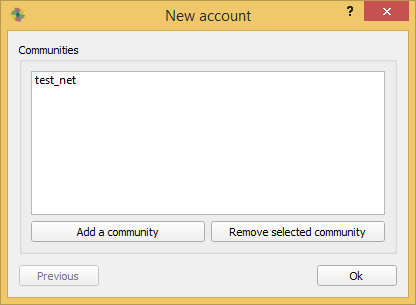
To connect to the network, click on Add a community button.
In the next screen, you will have to enter a network address + port. For our example, meta_brouzouf, I advice you to connect to a node I own:
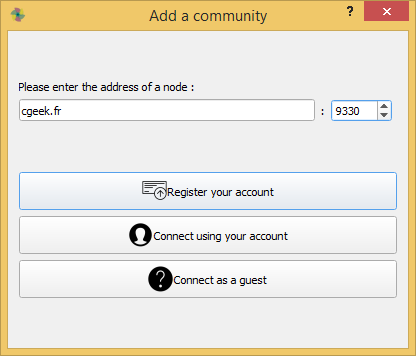
Click on Register your account.
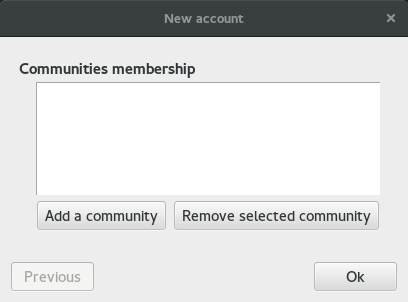
You will be presented a new screen where you can add more known nodes from the network:
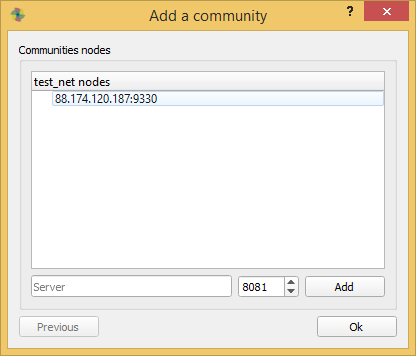
We won’t add more in this tutorial. Click Ok to finalize. You should be noticed a:

Which means your newly created identity + key are not yet published on the server. Click Yes to make the publication. You will be asked for your password, which will be used for signing your identity:

You should now have:
Click on Ok to finalize. You will again be asked for your password (dunno why). Enter it again:
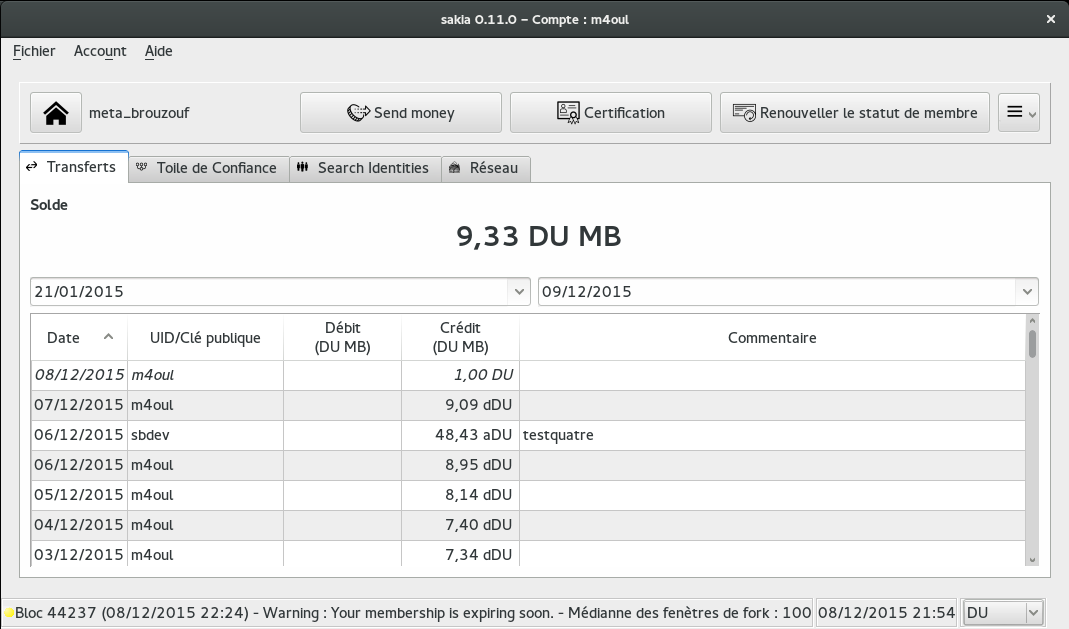
You should now be back on Home screen with some changes displayed:

If you reached this step, then your identity was successfuly created. Well done! ![]()
Joining a community
What you did was to create your identity. But to really join a community (and its currency), you ohave to express your will to join it.
Doing so is easy as a pie: click on Send membership or Renew membership button:

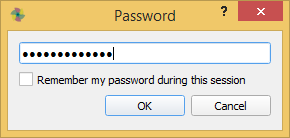
You should be asked for your password if did not checked “Remember my password for this session” earlier:
and then, if you don’t have any error message, then your membership was successfully sent.
There we are: you are now eligible to join a community. However, you won’t actually join. Why? Because you also need certifications for your identity made by other members.
So now, you need to gather enough certifications, for example by asking them on this forum. And you may also yourself certify others so they receive certifications too. Follow next explanation to learn how.
Certify someone else
A member
If you want to sign someone that you know is a member, it will be super simple: first, go to Community > Members tab. Here, you will find the list of current members. All you have to do is to right click on the user ID you want to certify, and click on Certify identity to have the following screen:
Note: here I cannot continue because I’ve already certified someone 1h ago, so I must wait 2hours and 35 minutes to make another certification. But you should be able to continue.
Click on OK to finish the certification process.
You will be asked your password:
And then see the message:

Of course, the public key won’t be the same: you will have the one of the user you wanted to certify. ![]()
An ex-member
This case is a bit trickier: you need to have the user ID you want to sign in mind.
Have it? Good. Go to Community > WoT tab. In the search field, type this ID. For example, cgeek:

If you type on the “Enter” key of your keyboard, the graph area should be updated to center on the user ID you typed. To sign it, right click on the ellipse of the user you want to sign and choose menu Certify identity:

You should now have the following screen:

Click on OK to finish the certification process.
You will be asked your password:
And then see the message:
Anyone, even a newcomer
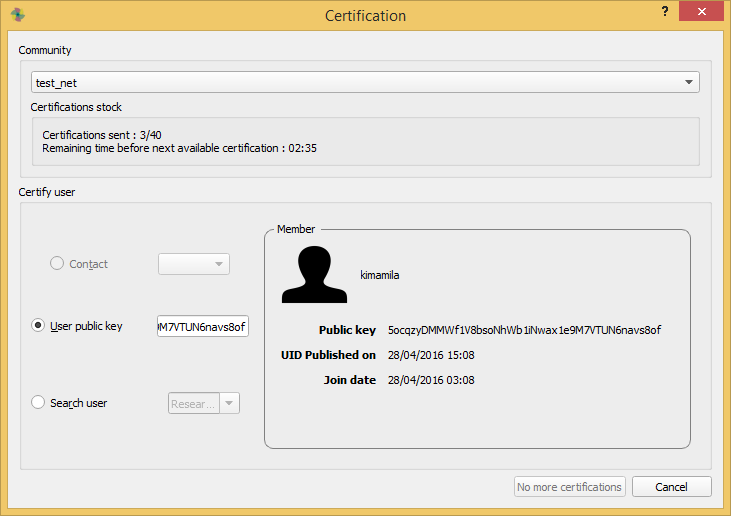
Go to menu Actions > Certification.

You will have following screen:
Choose User public key option and copy/paste (or manually enter) the public key of the individual’s identity you want to certify. Click on OK to do the certification.
You will be asked your password:
And then see the message:
Congratulations! You have just certified this key! ![]()
If others do the same for your identity, then you might become a member of the community.
Conclusion
There we are! We have been through the basic steps for creating an identity with Sakia, express our will to join the community and learned how to certify one’s identity.
This topic will be edited several times to reflect the incoming new versions of Sakia, which will be with no doubt, richer and richer each time to make our life easier.
Let’s make currencies!